How Do I Resize Photos to Fit the Funeral Program Template?

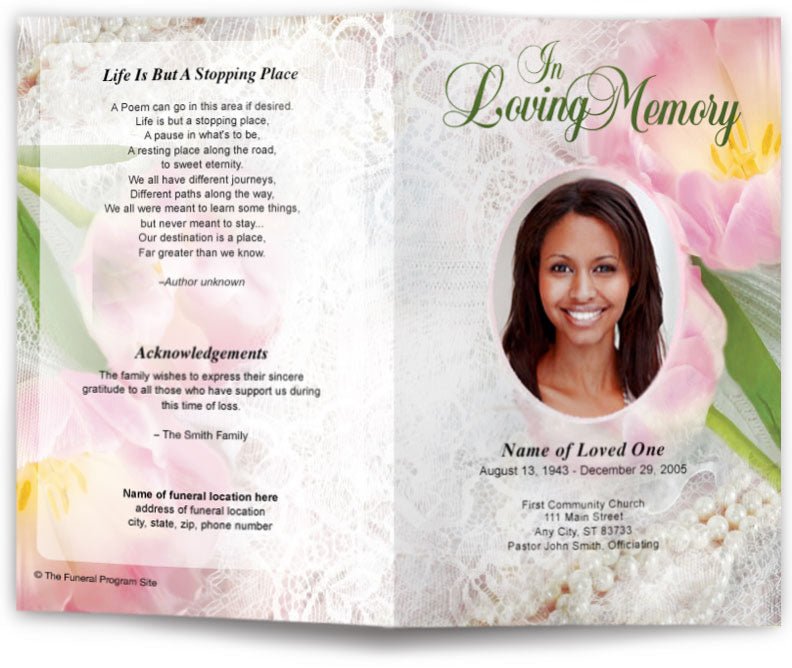
When designing a funeral program, adding photos is an essential way to honor a loved one’s memory. However, ensuring that images fit correctly within the funeral program template is crucial for a polished and professional appearance. If the photos are too large or too small, they may appear distorted, pixelated, or improperly aligned. Resizing images correctly ensures they look clear and well-placed within the program.
Why Resizing Photos Matters
Maintains Image Quality
If a photo is stretched or compressed incorrectly, it can become blurry or pixelated. Resizing it properly preserves the original quality.
Ensures Proper Fit
Templates often have designated image areas, and resizing allows the photo to fit without cutting off important details.
Creates a Professional Look
Properly scaled photos contribute to a well-organized and visually appealing funeral program, preventing overcrowded or awkward layouts.
Methods to Resize Photos for a Funeral Program Template
Using Microsoft Word or Publisher
Many funeral program templates from The Funeral Program Site are available in Microsoft Word or Publisher, which allow easy resizing.
- Insert the Image – Click Insert > Pictures and select your desired photo.
- Adjust the Size – Click on the image, then drag the corners while holding the Shift key to maintain proportions.
- Use the Picture Tools Format Tab – In Microsoft Word, go to Picture Tools > Format > Size and manually enter height and width dimensions.
- Crop if Necessary – If the photo does not fit well, use the Crop tool under the Format tab to remove unnecessary areas.
Resizing in Canva
Canva is an online design tool that provides funeral program templates with drag-and-drop editing features.
- Upload Your Image – Click on Uploads and add your desired photo.
- Drag to Resize – Click the image and adjust the edges to fit within the designated space.
- Use the Crop Tool – Select Crop if the image is too large and trim the unnecessary areas.
Using Adobe Photoshop
For more advanced photo resizing, Photoshop allows precise control over image dimensions.
- Open the Image – Click File > Open and select your photo.
- Resize Image – Go to Image > Image Size and adjust the dimensions while maintaining aspect ratio.
- Save in High Resolution – Save the file in 300 DPI resolution for the best print quality.
Resizing in Google Docs
Google Docs also supports funeral program template editing.
- Insert Image – Click Insert > Image > Upload from Computer.
- Resize by Dragging – Click on the image and use the corner handles to resize proportionally.
- Use the Format Options Panel – Under Format > Size & Rotation, manually adjust dimensions.
Best Practices for Resizing Funeral Program Photos
Use High-Resolution Images
Start with high-quality photos (at least 300 DPI) to ensure clear and sharp prints.
Maintain Aspect Ratio
Always resize by dragging from the corners or using the “Lock Aspect Ratio” option to prevent distortion.
Avoid Overcrowding
Limit the number of images per page to maintain a clean and elegant layout.
Final Thoughts
Resizing photos correctly is an important step in creating a beautiful funeral program. Whether you’re using Microsoft Word, Canva, Photoshop, or Google Docs, ensuring that images fit properly within the template will enhance the overall design. By maintaining image quality, aspect ratio, and proper alignment, you can create a professional and meaningful tribute that honors your loved one’s memory.