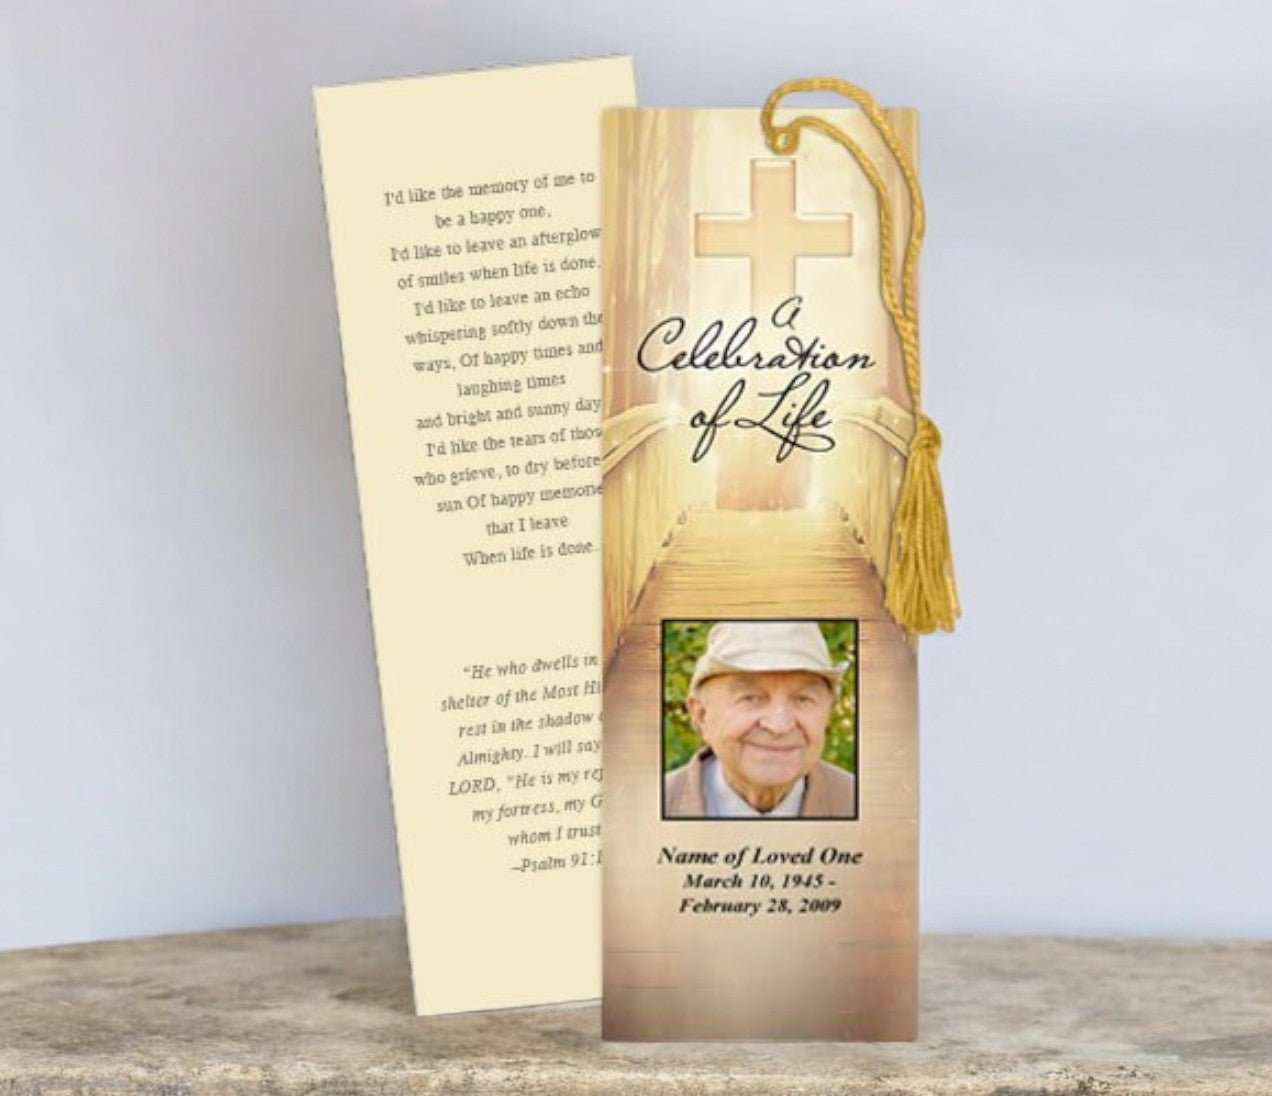
DIY Memorial Bookmarks: Step-by-Step Guide

Introduction to DIY Memorial Bookmarks
Memorial bookmarks are a beautiful and thoughtful way to honor a loved one, providing a cherished keepsake for friends and family. Creating your own DIY memorial bookmarks allows you to personalize each detail, adding special touches that reflect the life of the person being remembered. Whether you're planning a funeral or memorial service, or simply looking for a way to create lasting mementos, this step-by-step guide will help you design and craft heartfelt memorial bookmarks with ease.
Materials Needed for DIY Memorial Bookmarks
Before you start creating your DIY memorial bookmarks, gather the following materials to ensure you have everything you need:
- Cardstock or high-quality paper
- Computer and printer
- Photo editing software (optional)
- Scissors or a paper cutter
- Ribbons or tassels (optional)
- Laminator or clear self-adhesive sheets (optional)
- Hole punch (for attaching tassels)
Step-by-Step Guide to Creating DIY Memorial Bookmarks
Step 1: Choose a Design and Layout
Start by choosing the design and layout for your memorial bookmarks. You can create your own design using photo editing software like Canva, Adobe Photoshop, or Microsoft Word, or you can download a template online. When selecting a layout, consider whether you want to include photos, text, religious symbols, or other personal elements. A typical bookmark is 2" to 3" wide and 6" to 8" tall, but you can adjust the dimensions to suit your preferences.
Design Tips
- Use a simple and elegant font for the text to ensure readability.
- Choose a color scheme that reflects the personality of your loved one.
- Incorporate meaningful quotes, poems, or verses.
- Include a photo of your loved one to personalize the bookmark.
Step 2: Personalize Your Memorial Bookmark
Once you have your design ready, personalize the memorial bookmark with important details. This can include the name of your loved one, birth and death dates, a meaningful quote, prayer, or poem, and any symbols or images that hold significance. If you’re using a photo, ensure that the image is of high resolution and fits well within the design. Remember that simplicity is key—too much text or too many images can make the bookmark feel cluttered.
Personalization Ideas
- Add a favorite scripture, quote, or lyric.
- Include a personal message or brief tribute to your loved one.
- Incorporate symbols such as crosses, hearts, doves, or floral designs.
- Use borders or frames to give the bookmark a polished appearance.
Step 3: Print the Bookmarks
After designing and personalizing the bookmarks, it’s time to print them. Use high-quality cardstock or thick paper to ensure that the bookmarks are sturdy and durable. You can print them at home if you have a good-quality printer, or you can take your design to a local print shop for professional printing. Be sure to print test copies first to check for any layout issues or color inconsistencies.
Printing Tips
- Set your printer to the highest quality setting for best results.
- Use thicker paper (around 80-110 lb) for durability.
- Consider printing multiple bookmarks per sheet to save paper.
- Make sure margins are properly aligned before printing the final copies.
Step 4: Cut the Bookmarks
After printing, carefully cut out the bookmarks using scissors or a paper cutter. If you printed multiple bookmarks on one sheet, cut along the lines to separate them. Take your time to ensure that the edges are straight and even. For a more polished look, you can use a corner rounder punch to round the edges of the bookmarks.
Cutting Tips
- Use a paper cutter for straight, even cuts.
- Cut one bookmark at a time for accuracy.
- Consider rounding the corners for a finished look.
Step 5: Add Finishing Touches
Once the bookmarks are cut, you can add any finishing touches to enhance their appearance. Laminating the bookmarks will help protect them from wear and tear, making them last longer. If you don't have a laminator, you can use clear self-adhesive sheets. You can also punch a hole at the top of the bookmark and add a ribbon or tassel for a decorative touch. Choose ribbons in colors that reflect your loved one’s personality or favorite hues.
Finishing Ideas
- Laminate the bookmarks for added durability.
- Attach a tassel or ribbon to the top using a hole punch.
- Add a decorative charm or bead to the ribbon for extra flair.
- Consider using decorative edges or embossing for a more elegant look.
DIY Memorial Bookmarks: Step-by-Step Guide Conclusion
Creating DIY memorial bookmarks is a personal and meaningful way to honor the memory of a loved one. By following these simple steps, you can design and craft beautiful bookmarks that serve as lasting mementos for friends and family. Whether you choose a simple design or a more intricate layout, the love and care you put into making these bookmarks will provide comfort to those who receive them and serve as a touching tribute to your loved one’s life.
For more on this topic, visit The Funeral Program Site.
© The Funeral Program Site - Funeral Programs, Funeral Program Templates and Cancer Ribbons
Also see: funeral program templates


